

Background
If the SeqSphere+ server detects a problem that could potentially damage the database, or detects an error that is potentially related to database that is already damaged, the server is set to a special "Potential Database Damage" mode. In this mode all user sessions are read-only and no new backups are created any more, to prevent that existing backup files are overwritten with damaged ones.
The Potential Database Damage mode is activated
- if the database directory ran out of disk space, or
- if a database specific critical error was detected, or
- if the database validation check fails that is performed before a backup created.
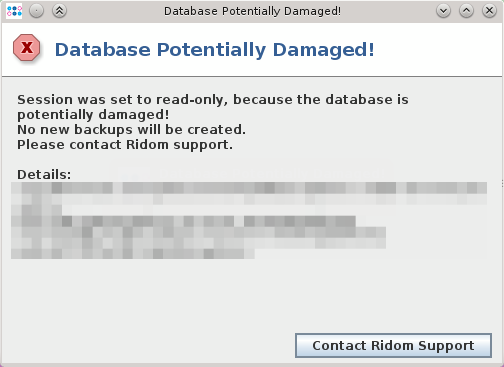
If a SeqSphere+ client connects to this server, the user gets an error dialog after the login and is asked to contact Ridom support and send the log files.
However, if the database is set into Potential Database Damage mode this does not always mean that the database is already damaged. In this case the mode can be reset after Ridom support has checked the log files.
Reset Potential Database Damage Mode
![]() Important: We strongly recommend to contact Ridom support before resetting the Potential Database Damage mode.
Important: We strongly recommend to contact Ridom support before resetting the Potential Database Damage mode.
- Step 1: Be sure to copy or move an old backup file outside of the backup directory of the server, so that it will not be overwritten by the automatic backup scheduler. It is strongly recommended to keep this backup file until it is clear that the database is not damaged (e.g., after working with the database and creating samples for a few weeks).
- Step 2: Start the SeqSphere+ client and log in as 'Administrator' (or any user with administration rights).
- Step 3: Download the file SeqSphere_UnsetPotentialDatabaseDamageFlag.xml to your computer (by right-clicking on the link), and open it with the SeqSphere+ client menu File | Open File(s).
- Step 4: An Open Files dialog opens. Confirm the dialog by clicking on Set Server Properties. Logins by users are now allowed and the database is now fully accessible again.
- Step 5: Logout and login again to gain full access to the database.
- Step 6: Finally, if you are sure, that a reliable backup file was copied or moved outside of the backup directory (step 1), open the backup settings, and enable automatic backups again.