

Preliminaries
All MLST schema that are public available at PubMLST.org can be directly downloaded through Ridom Typer, using "Create Task Template by Predefined MLST Scheme" when creating a new Task Template. For non-public schemes, a Task Template can also be created from profile and allele library files.
Creating such a Task Template requires that you have a single FASTA file for each locus of the MLST, and a CSV file that contains the allelic profiles of the STs.
The names of the allelic library files will be the names of the targets in the Task Template. If the allelic profiles of the STs are only available in Excel file format (xls/xlsx), then they must be converted to CSV before they can be imported into Ridom Typer.
As an example, there is no downloadable public MLST schema for Legionella pneumophila. However, allele libraries for Sequence-based typing (SBT) can be downloaded from https://github.com/tseemann/legsta. Using the steps below, allele numbers and STs can be assigned to a sample.
Creating the Task Template
- Step 1: Invoke in the menu command Options | Task Templates.
- Step 2: Press the button Create New.
- Step 3: In the upcoming dialog choose Create Task Template for Whole Genome Sequencing Data.
- Step 4: Choose Create Task Template by Allele Libraries.
- Step 5: In the upcoming dialog enter a Name, the Genus and the Species for your Task Template.
- Step 6: Choose in the field Application the value Typing.
- Step 7: Press the button Import Allele Libraries.
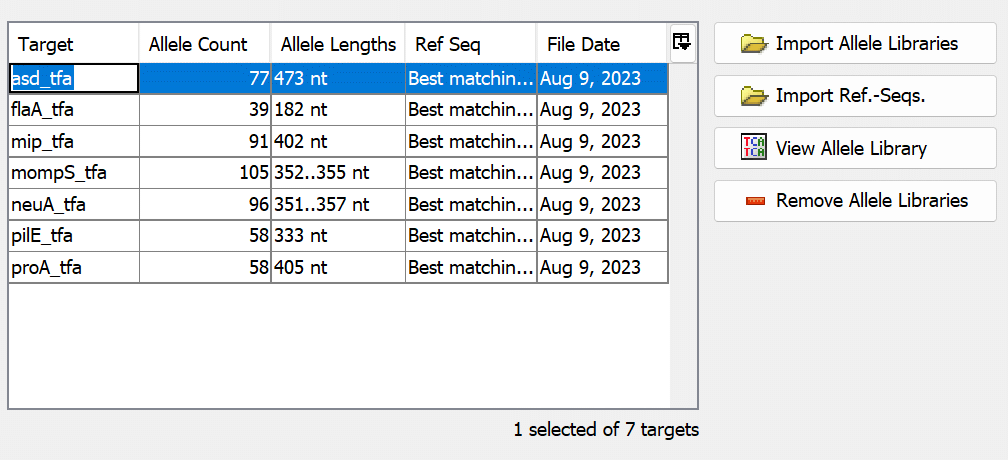
- Step 8: In the upcoming file dialog choose all the allele libraries as FASTA files. Each file represents one locus of the MLST.
- Step 9: Confirm the upcoming "Import Allele Libraries" with OK.
- Step 10: Make sure that the targets are named correctly. If required, the targets can be renamed by double-clicking a cell in the Target-column with the mouse. This will be required if the allele-files have file extensions other than .fasta. In this case the extensions are added to the target names and must be removed manually.

- Step 11: Press the button Next.
- Step 12: The QC Procedure settings are shown. Set the check "If start or stop codon is missing [...]" from Error to Ignore. Then press the button Next.
- Step 13: Finally press the button Finish to store the new Task Template.
- Step 14: The new Task Template appears in the list of Task Templates and is still selected. Press the Edit button to open it again.
- Step 15: Switch in the upcoming editor dialog to the tab Genotyping Libraries.
- Step 16: Select the first row in the table (Type: Allele Typing), press the Delete button, and confirm to remove it.
- Step 17: Now press the button Create New.
- Step 18: In the upcoming dialog click on the option Add MLST Libraries.
- Step 19: Next enter as Name "MLST".
- Step 20: Switch to the tab Allele Libraries.
- Step 21: Press the
 for the first target.
- Step 22: In the upcoming dialog press the button Import From File and choose the allele library file (FASTA) of the first locus. If required press the Trim Names to Digits button so that the column Name contains only numbers.
- Step 23: Repeat step 21 and 22 for all targets.
- Step 24: Switch to the tab Sequence Types, press the button Import From File and choose the CSV file that contains the allelic profiles for the STs (only files in CSV format are supported here!).
- Step 25: A preview dialog of the STs is shown. Click on the red headers of the table, and select the columns for the ST and for the loci in the table. The menu option Detect Mapping by Columns Headers can be used if the names are equal to the library file names.
- Step 26: If the ST and all loci are mapped to columns, the dialog can be confirmed with OK.
- Step 27: Now press Finish to add the new Genotyping to the Task Template.
- Step 28: Finally press OK to close the editor dialog, and Save Changes to store the Task Template.
FOR RESEARCH USE ONLY. NOT FOR USE IN CLINICAL DIAGNOSTIC PROCEDURES.