

Basic Workflow in Ridom Typer
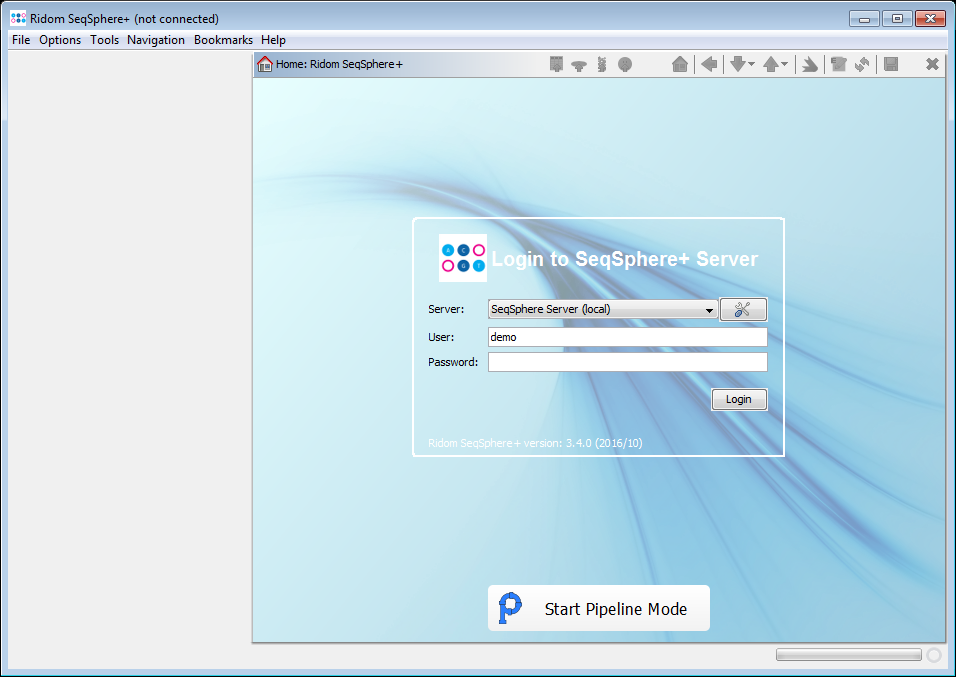
Start Ridom Typer and Log in
The Ridom Typer software consists of a client application and a server application (see installation). The server can be accessed by multiple clients from different locations, using different user accounts. The server contains an integrated database.
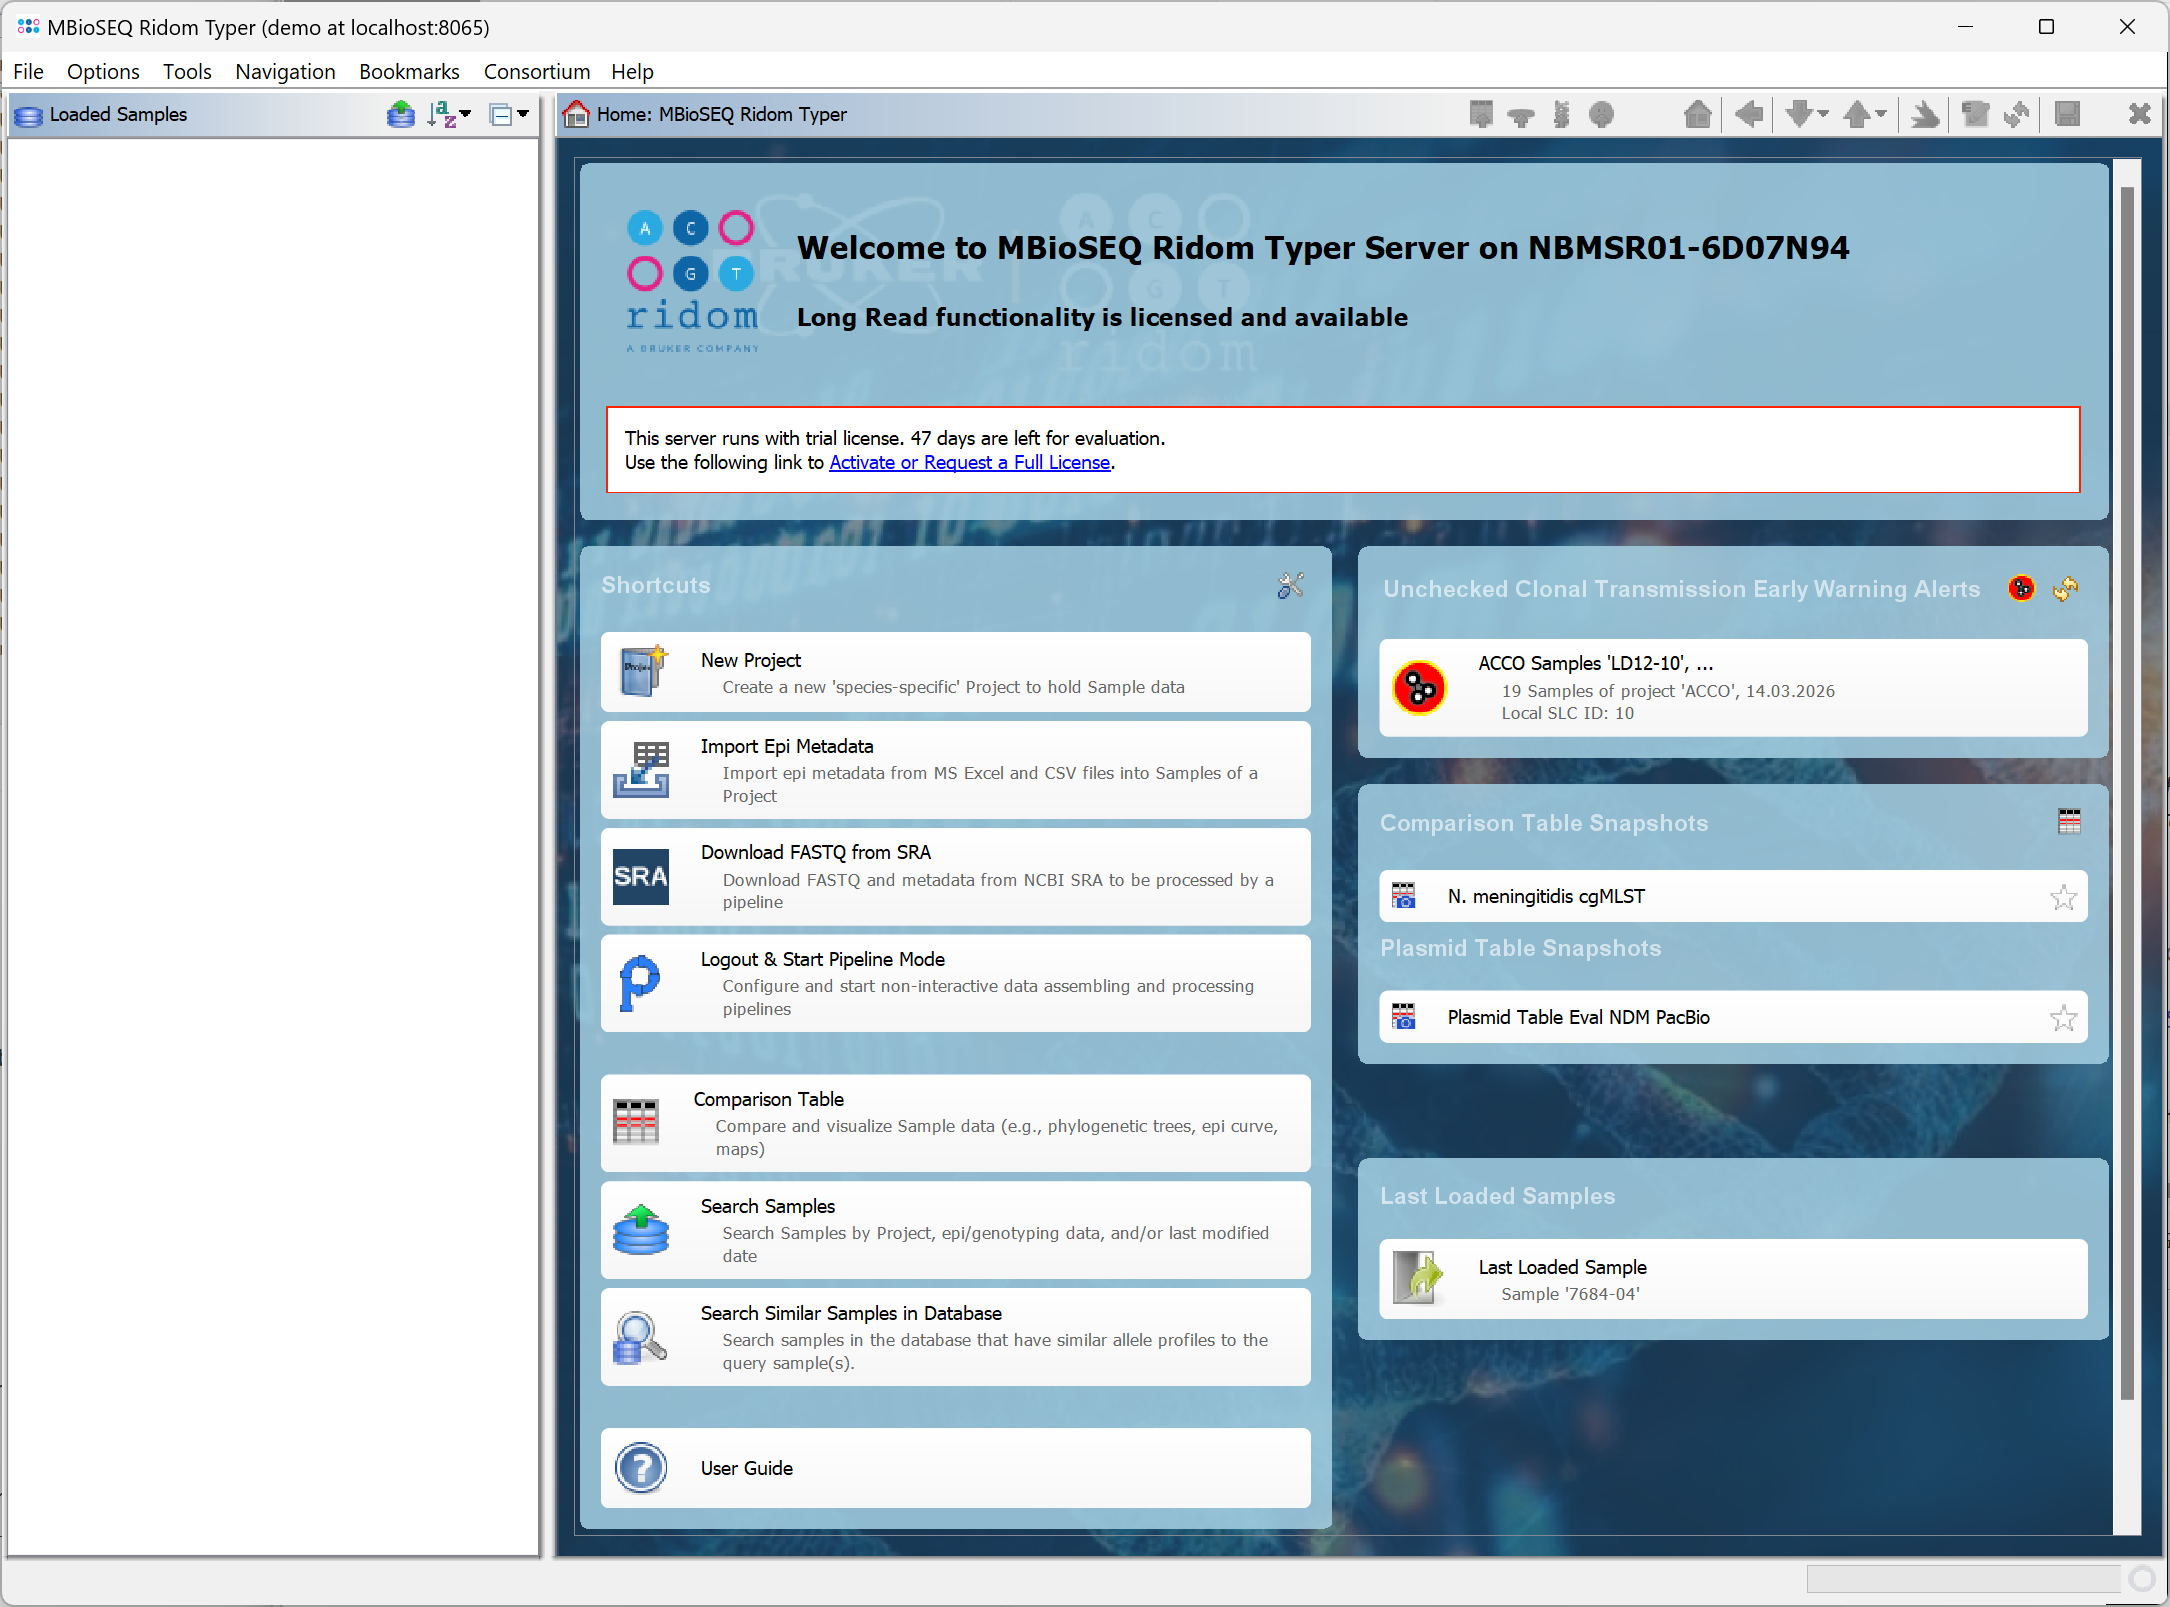
When the Ridom Typer client is started, it shows a log in screen. A named user account can be used to log in to the Ridom Typer server. After you have successfully logged in the home screen is shown, including configurable shortcuts for often used functions, the last created (or favorite) comparison table snapshots and recent pipeline reports. On the top of the home screen a welcome text is shown, including the host name and information about the availability of the long read functionality. The welcome text including images can be customized by the Administrator.
Define a Project
Create a Project first. A Project contains one or more Task Templates and is (in most cases) species specific. A Task Template describes the targets that should be analyzed and the processing that should be performed, like automatic quality checks (e.g. minimum coverage) and genotyping. Predefined Task Templates are available in Ridom Typer for MLST, cgMLST, serotyping, and resistance/virulence. Customized Task Templates for other workflows can be created with a step-by-step dialog.
Ridom Typer is a resequencing software. Once you have setup a project like this you can literally analyze hundreds/thousands of sequence data automatically.
Proccess Sequence Data
Use the function Process Assembled Genome Data to process assembled whole genome sequence (WGS) data files in FASTA, ACE, BAM, or GenBank format. Raw read files in FASTQ (phred+33) format can be assembled (or mapped) and processed by defining and starting a highly automatized Ridom Typer pipeline. Sanger sequencing data (e.g., SCF or ABI chromatogram files) can also be processed.
First, the target scan procedure searches (with BLAST) in the WGS data for targets that are defined in the task templates of the used project. If the matching sequences reach a threshold defined by the task template, they are imported as targets of the sample. Second, the target QC procedure is performed for the imported target sequences to check the reliability. Third, the genotypings that are defined in the task templates are performed (e.g., MLST, cgMLST) and the results are kept in the genotyping result fields of the sample and stored in the database on the Ridom Typer server.
Import Epi Metadata
Ridom Typer can import epi metadata from MS Excel and CSV files. The Excel file must contain a simple data table, where each row holds the values for one Sample. One column of the table must contain the Sample ID. This Sample ID is used to match the data to existing Samples, or to create new ones. The Sample ID must be unique for each Sample in a Project.
Searching and Retrieving Stored Samples
The samples are stored in the database of the Ridom Typer server. The search samples function can be used to search for the samples by Sample ID or other metadata fields, and to load them into the workspace for manual editing.
Compare and Visualize Genotyping Results and Metadata
Finally the comparison table function can be used for advanced analysis of the genotyping results together with the metadata. The data can be compared and visualized using neighbor joining trees, minimum spanning trees, epi curves and geographical maps. Comparison table and minimum spanning tree content and layout can be stored for later reuse in a snapshot.
Data Objects in Ridom Typer
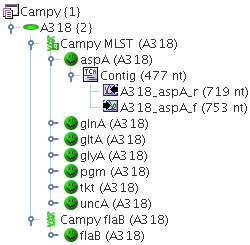
The Sample (![]() ,
,
![]() ,
,
![]() , or
, or
![]() ) is the central data object in Ridom Typer.
) is the central data object in Ridom Typer.
Each Sample belongs to one Project (![]() ):
):
- Each Project has one Database Scheme that specifies the Sample's database fields (e.g. sample ID, isolation date, etc.).
- Each Project has Task Templates that specify the Sample's DNA sequencing tasks (e.g. MLST).
Each Sample can have Task Entries (![]() ) that are specified by the Task Templates of its Project:
) that are specified by the Task Templates of its Project:
- Each Task Entry is meant for a specific DNA sequencing task that is performed for this Sample.
- Each Task Entry is specified by a Task Template that is available in the Sample's Project.
- Each Task Entry has targets (
 ,
,  ,
,  , or
, or  ) that are specified by the Task Template.
Example:
A Project Campy, contains two Task Templates: Campy MLST, that contains the 7 MLST loci as targets, and Campy flaB that contains only a single target. Each Sample of this Project may now contain one Task Entry for Campy MLST, that contains up to 7 different targets, and one Task Entry for Campy flaB, that may contain only one target.
Target QC Procedure
The targets are automatically checked for the quality issues that were defined in the Target QC Procedure of the Task Template. Each target is rated with one of the following states:
The targets can have different states:
- good (green):
- Target was extracted and fulfills all requirements that are defined in the Target QC Procedure of the Task Template.
- good with warnings (yellow):
- Target was extracted, but has a warning in at least one of the defined requirements. For example, they may have a region with low coverage.
- failed (red):
- Target was extracted, but fails in at least one of the defined requirements. For example, they may have frame shifts and incorrect lengths compared to the reference gene of the Task Template. Those targets will not be used for typing.
- not found (gray):
- Target was not extracted because the match in the scanning step did not reached the defined thresholds or was not a unique match.
A list of all error positions in the imported data can be shown, and can be used to control those positions. Especially for Ion Torrent data, a reference based auto-correction of homopolymer related insertion/deletion errors is integrated.
Genotyping Libraries
Each Task Template can have one or more Genotyping Libraries to perform typing or identification (e.g., MLST and cgMLST).
After the queries of Task Entry has been performed, a result state assigned:
-
 succeeded
-
 new alleles can be assigned (e.g. to cgMLST)
-
 ambiguous
-
 failed
The results of a genotyping (e.g., allele types) are stored in the result fields of the Task Entry.
FOR RESEARCH USE ONLY. NOT FOR USE IN CLINICAL DIAGNOSTIC PROCEDURES.